Adjust Calibration Coefficients Novastar
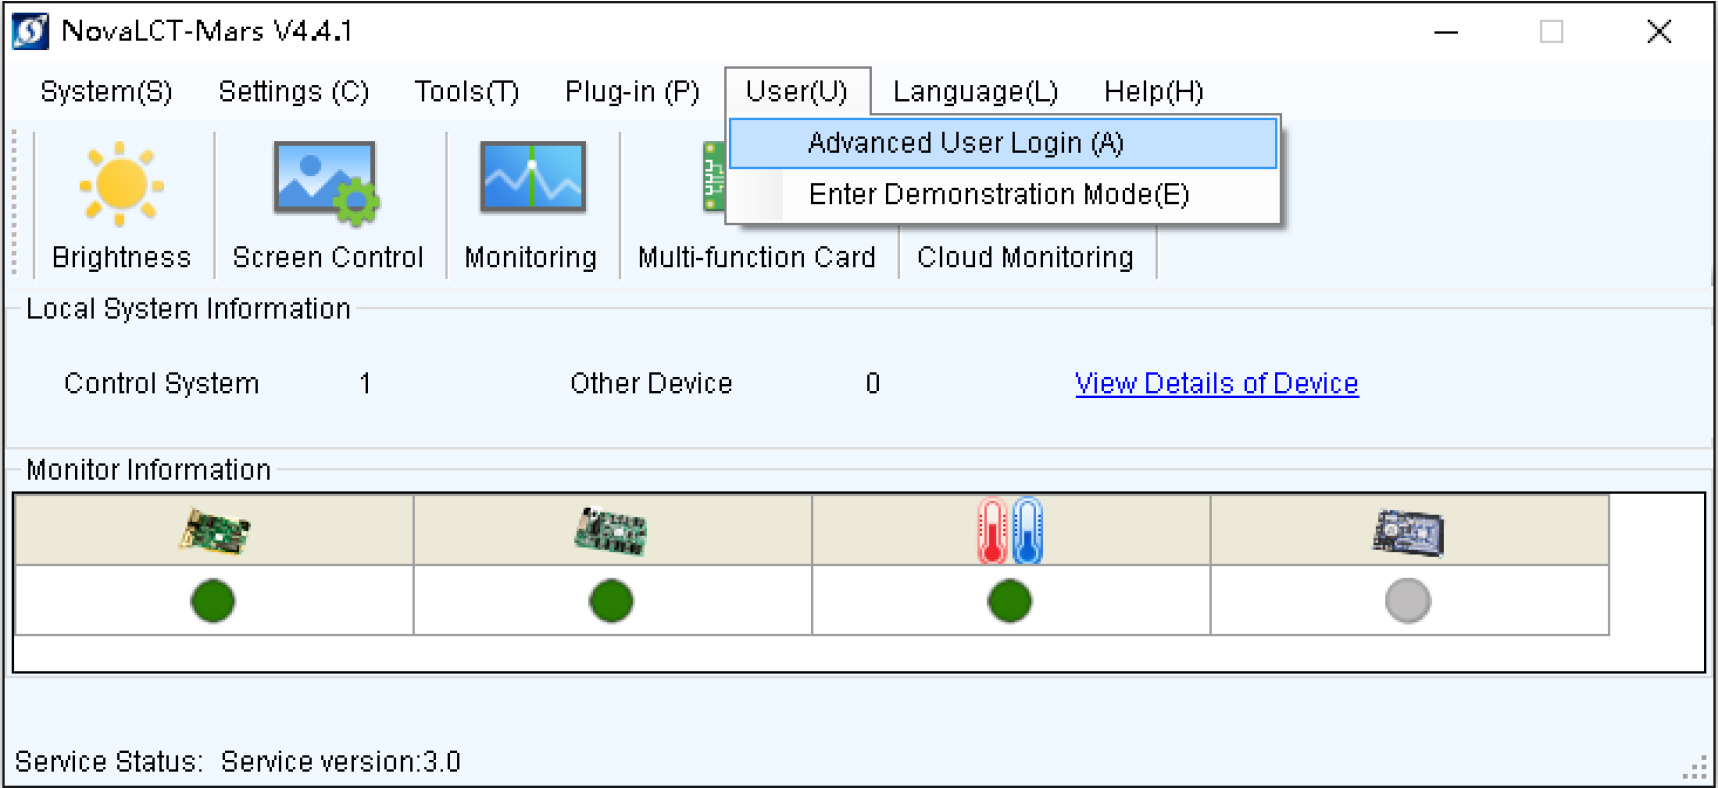
1. Run NovaLCT-Mars, move the cursor over the Advanced User Login (A) and click the icon.
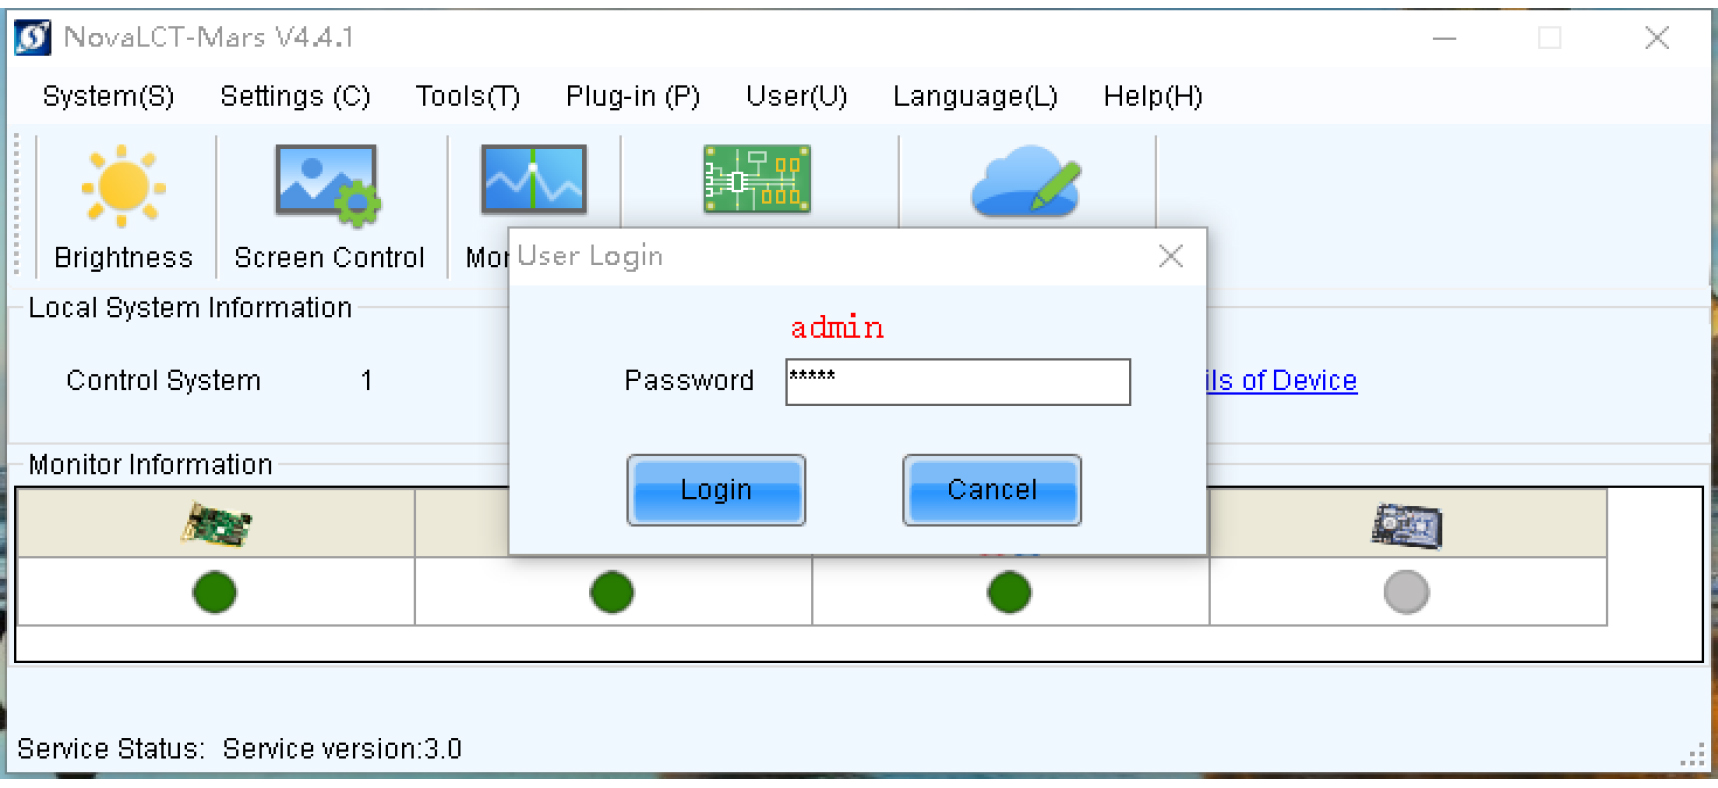
2.Login with the password “admin”.
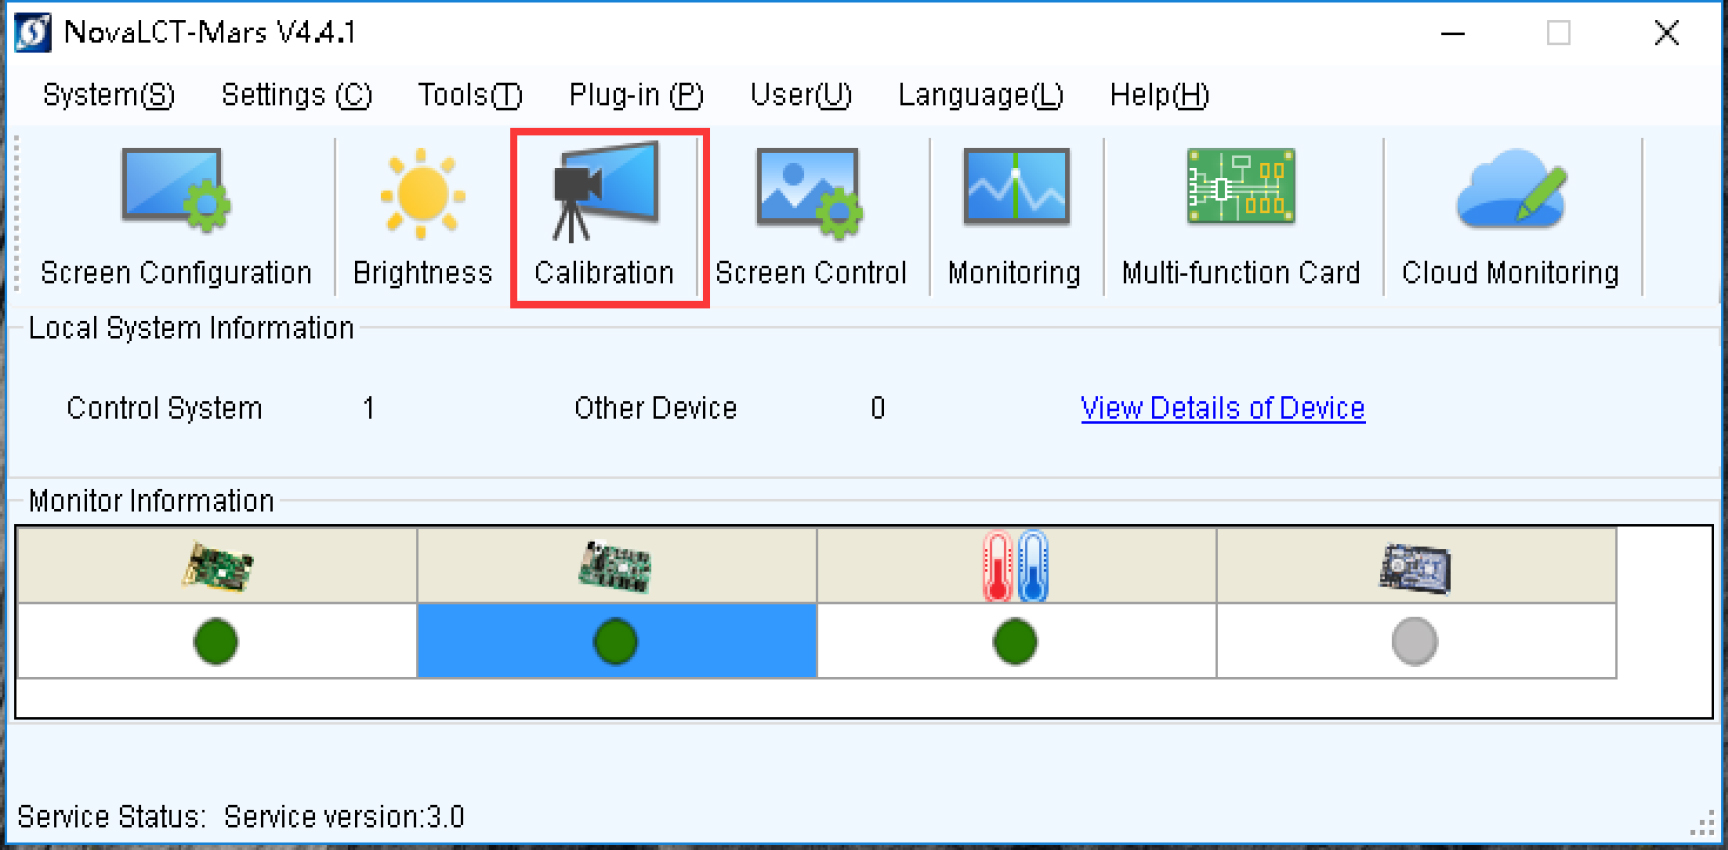
3.Then click Calibration icon.
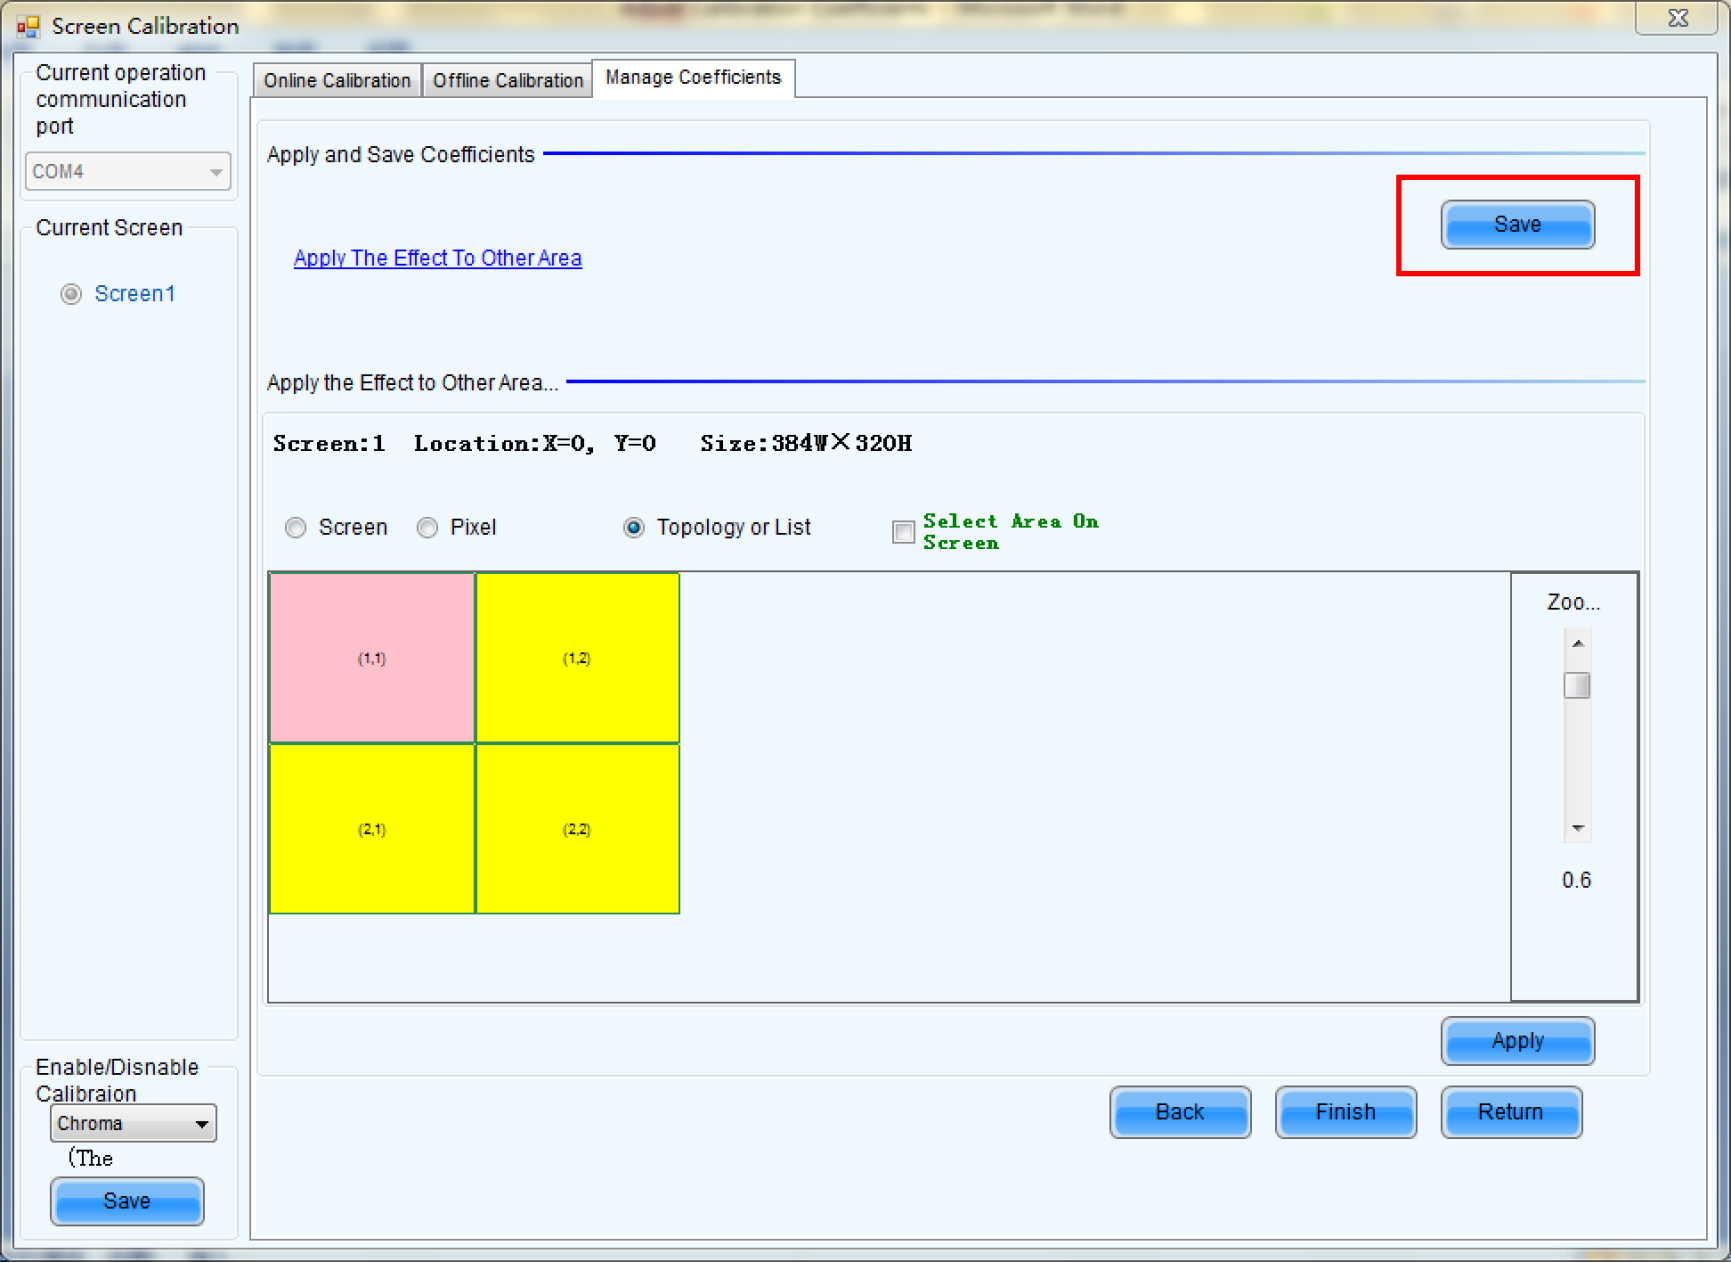
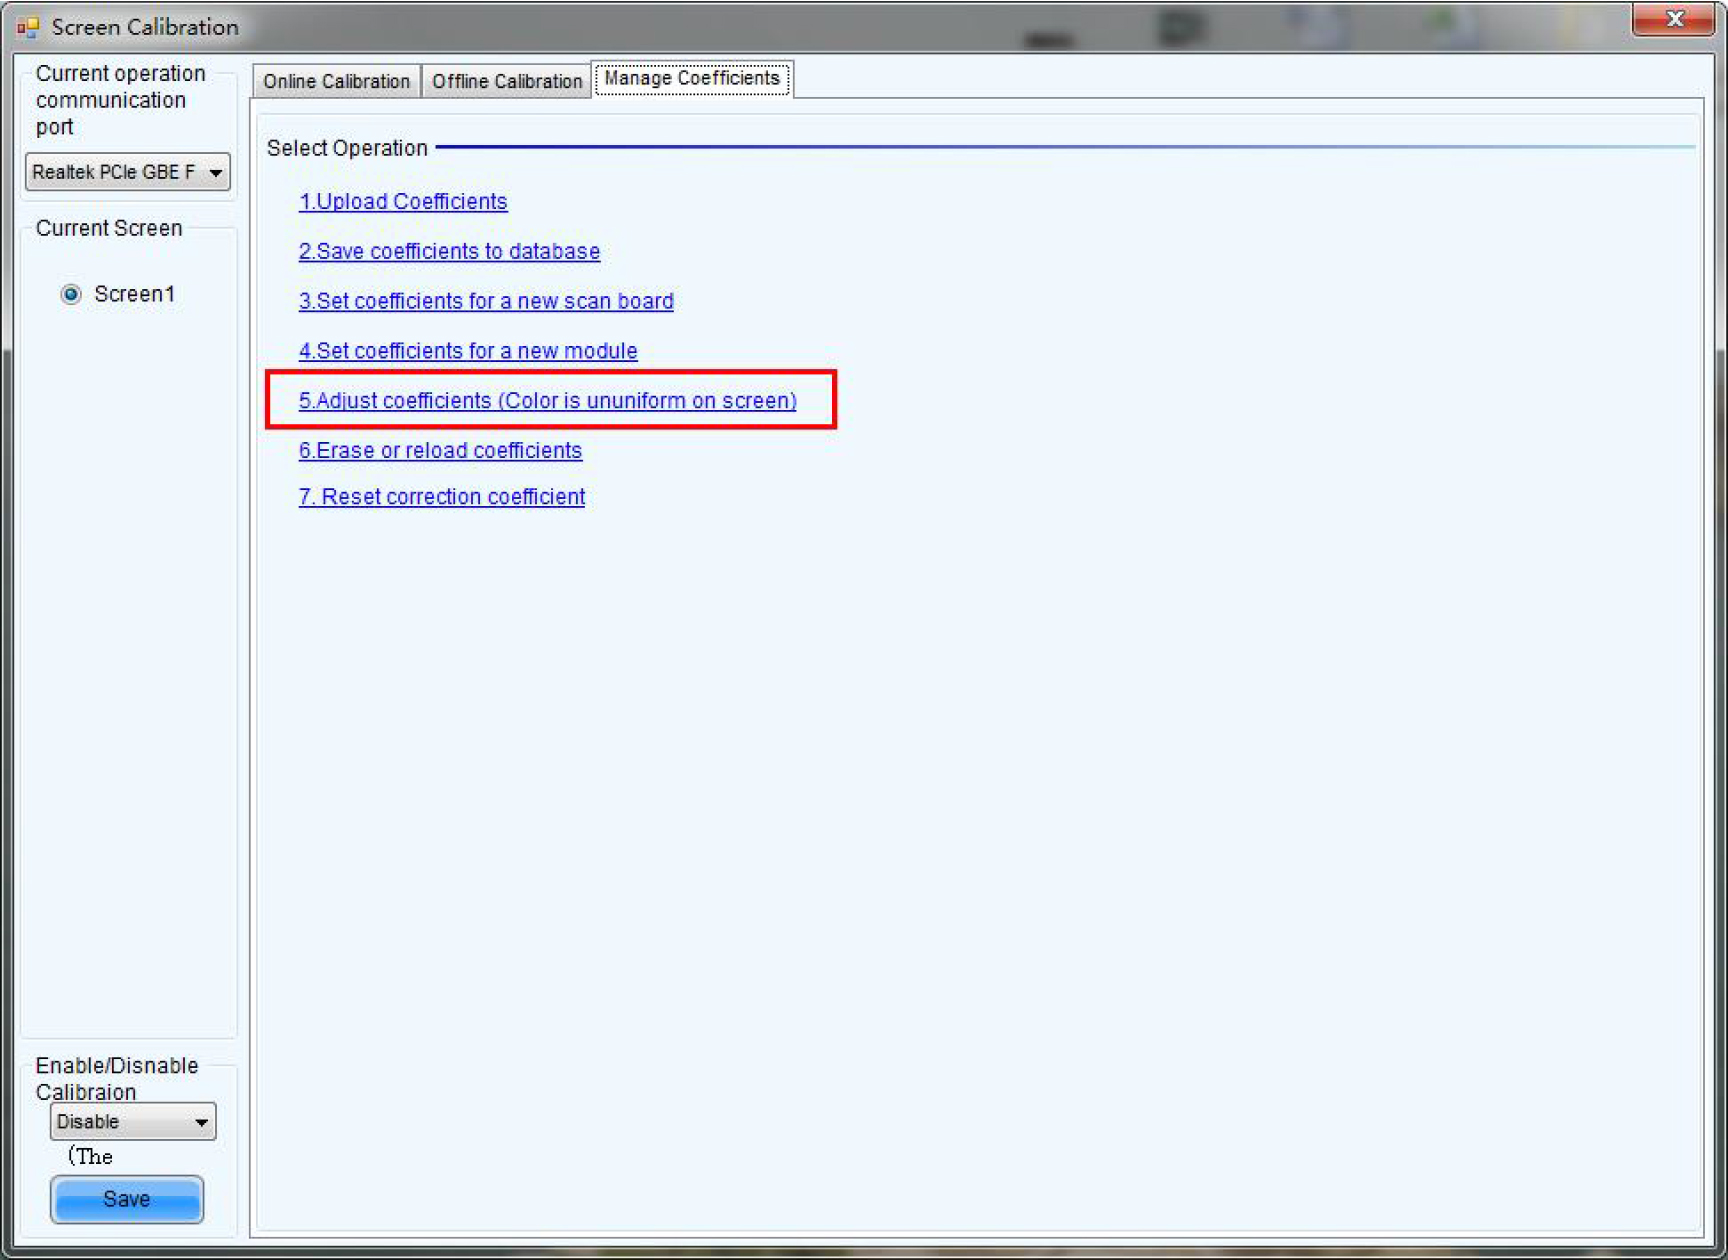
4. Select the tabs Manage Coefficients, then select Chroma or Brightness on the left-bottom of the interface.

5. Select “adjust coefficients” (color is uniform on screen)
6. Select areas which need to be adjusted: select Screen, Pixel, Topology orList or Select Area On Screen, and
then select the cabinet which needs to be adjusted by taking the example of the topological graph.
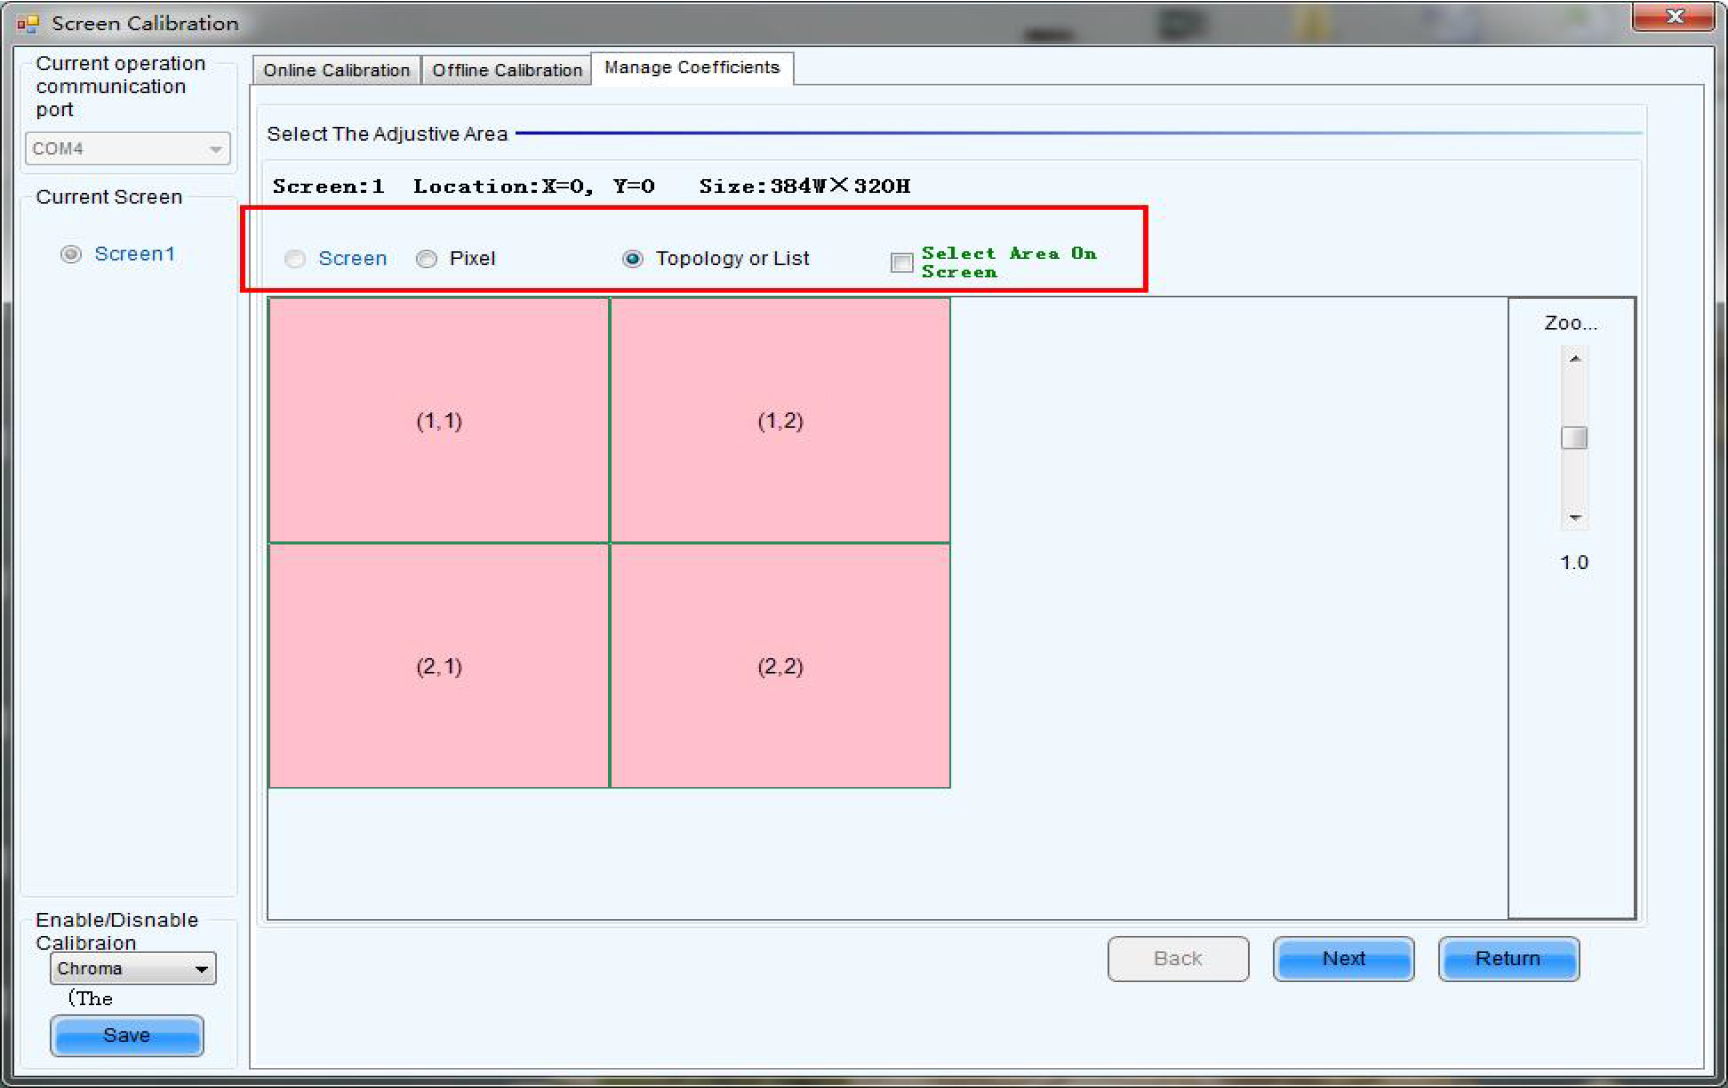
7. Click the cabinet (1,1)as the following picture, the chosen area would turn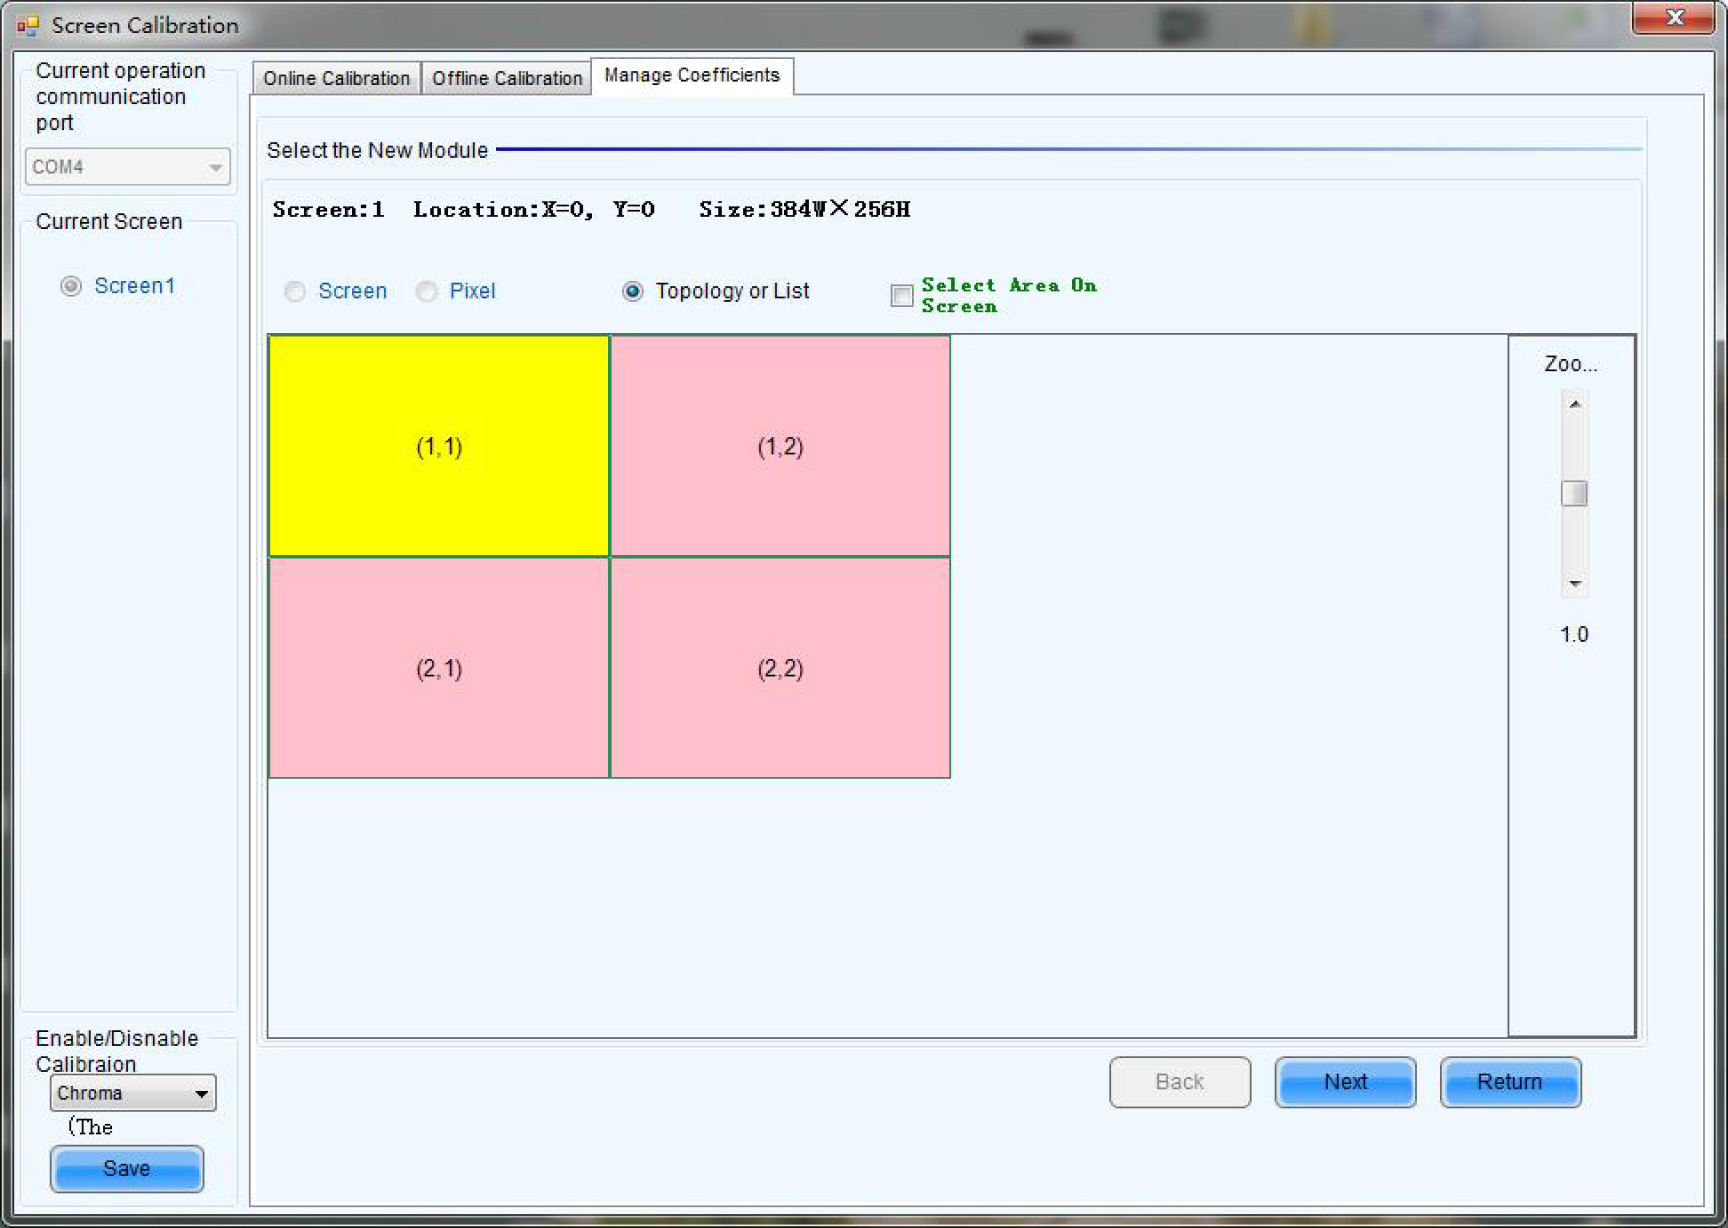
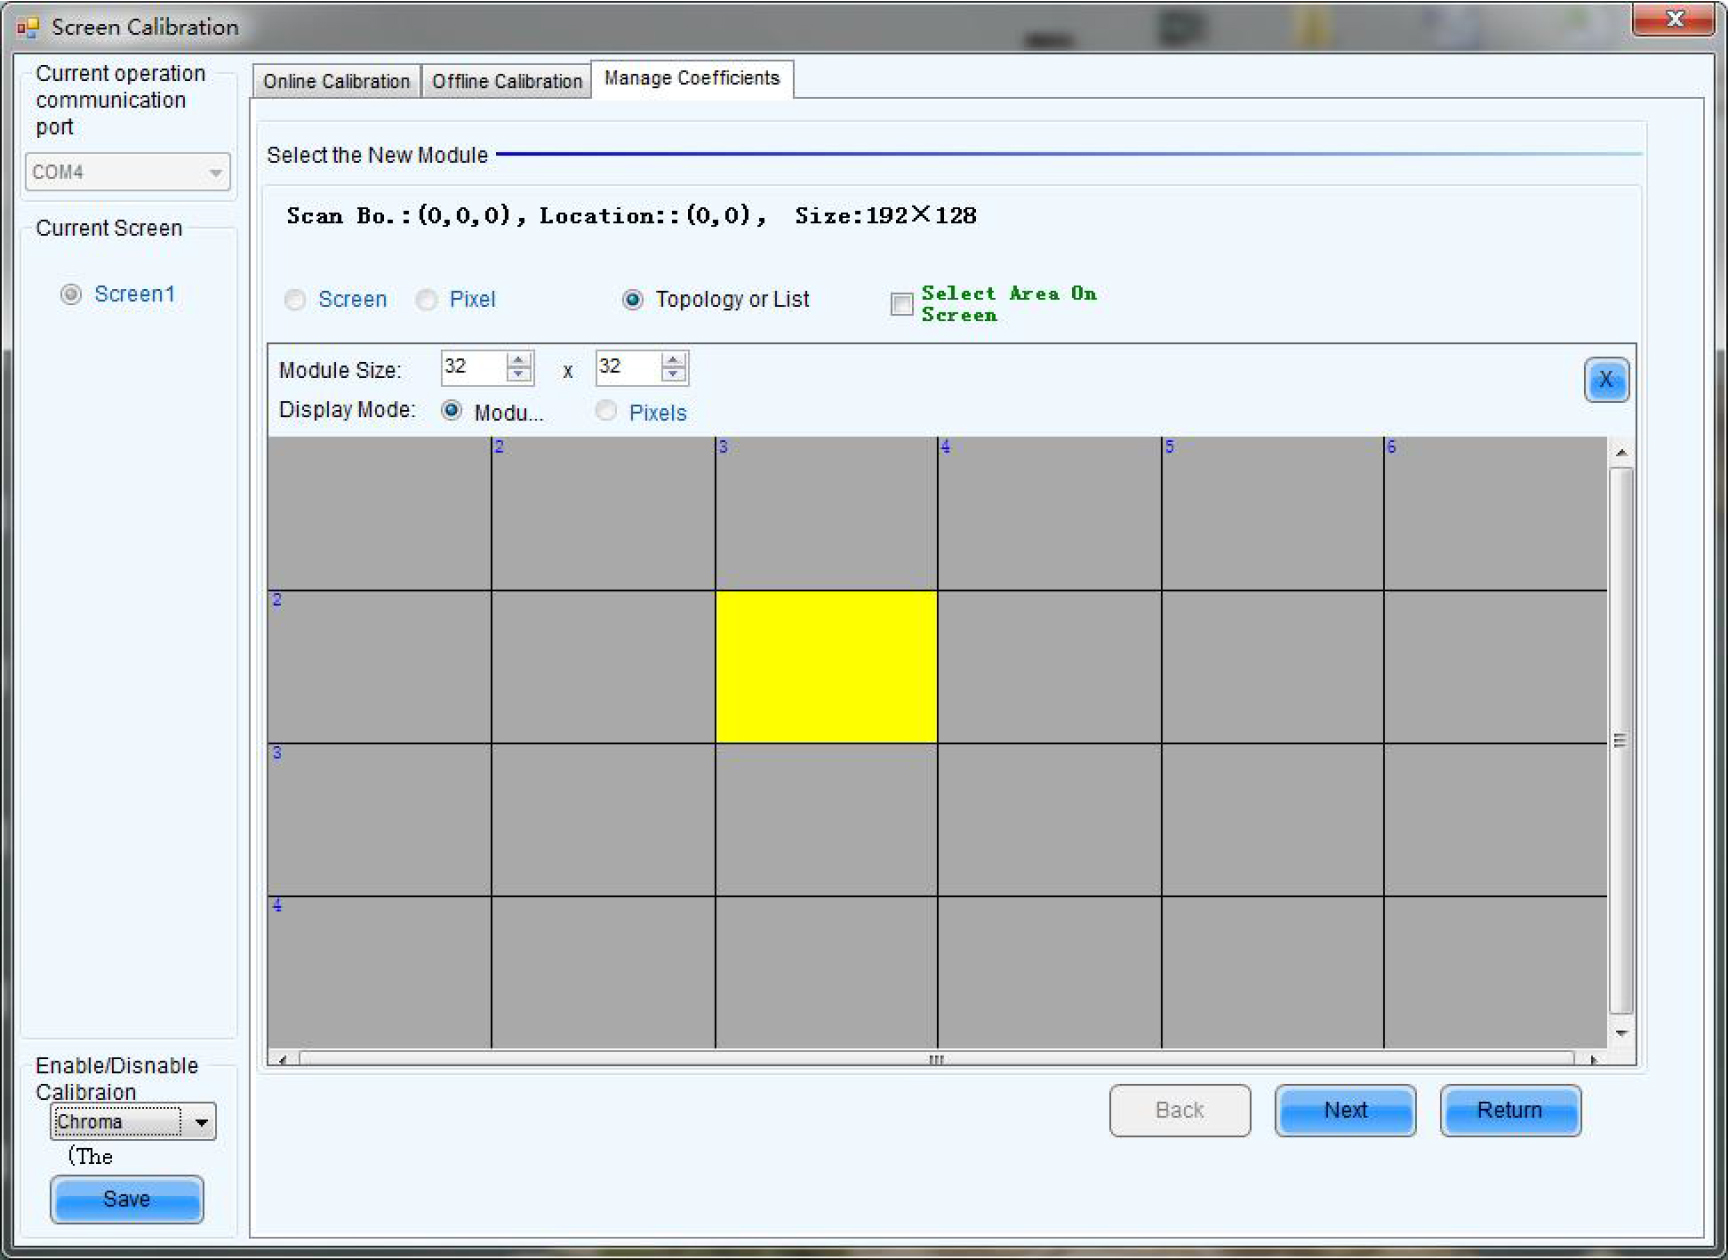
8. Please click the cabinet (1,1) to adjust the internal module of the cabinet.
1) Input the actual resolution of the module in the popped interface.
2) Choose the module which needs to be adjusted, and the chosen area will turn yellow.
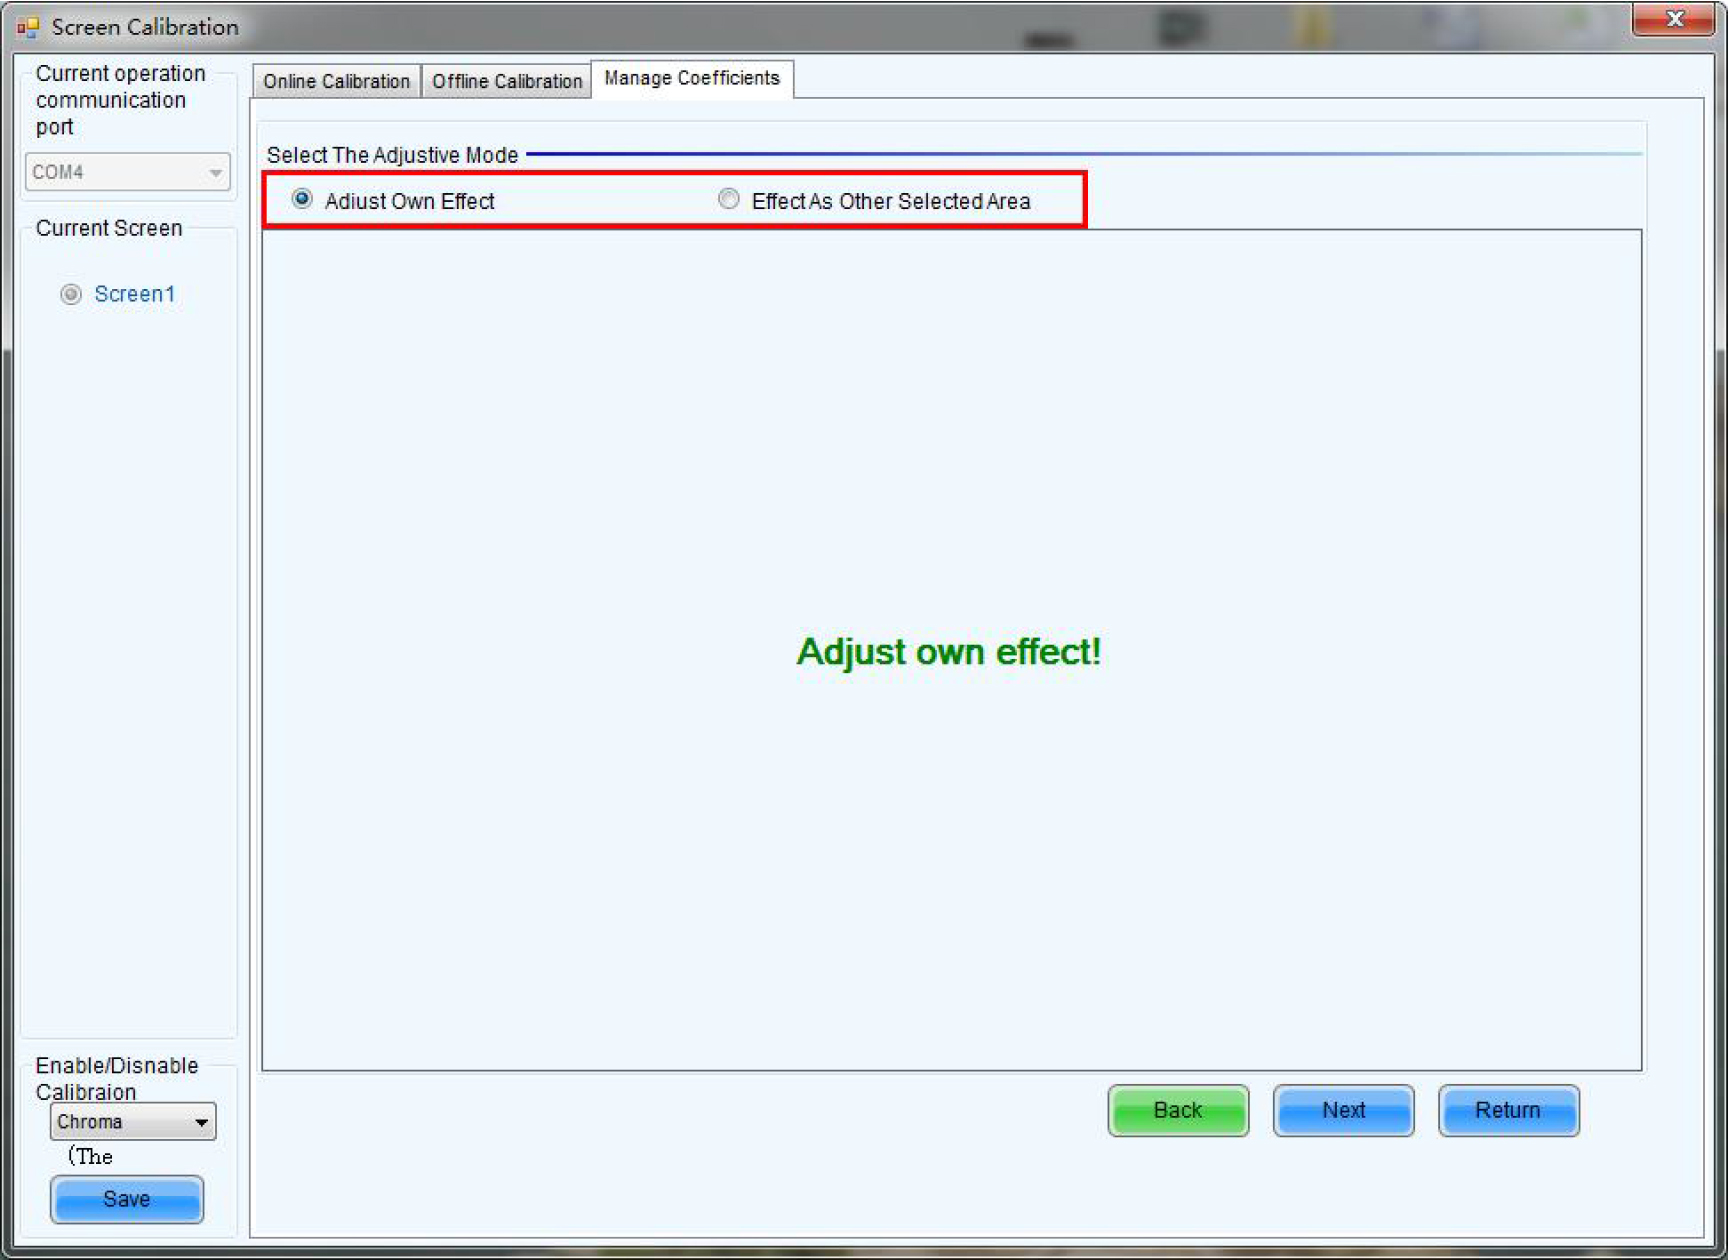
9. How to select the adjustment type:
If Adjust Own Effect option is selected, the color of the selected adjustment area is different from other areas
If the Effect As Other Selected Area option is selected, the color of the selected area will be adjusted according to the color of
reference areas. After the adjustment operation, the selected area color will look similar to the color of reference areas.
Take the self-adjustment as an example:
10. Adjust R,G,B calibration coefficients manually as following:
Simple Adjustment: Pull the sliding blocks of Red\Green\Blue, and then the colors value would be changed.
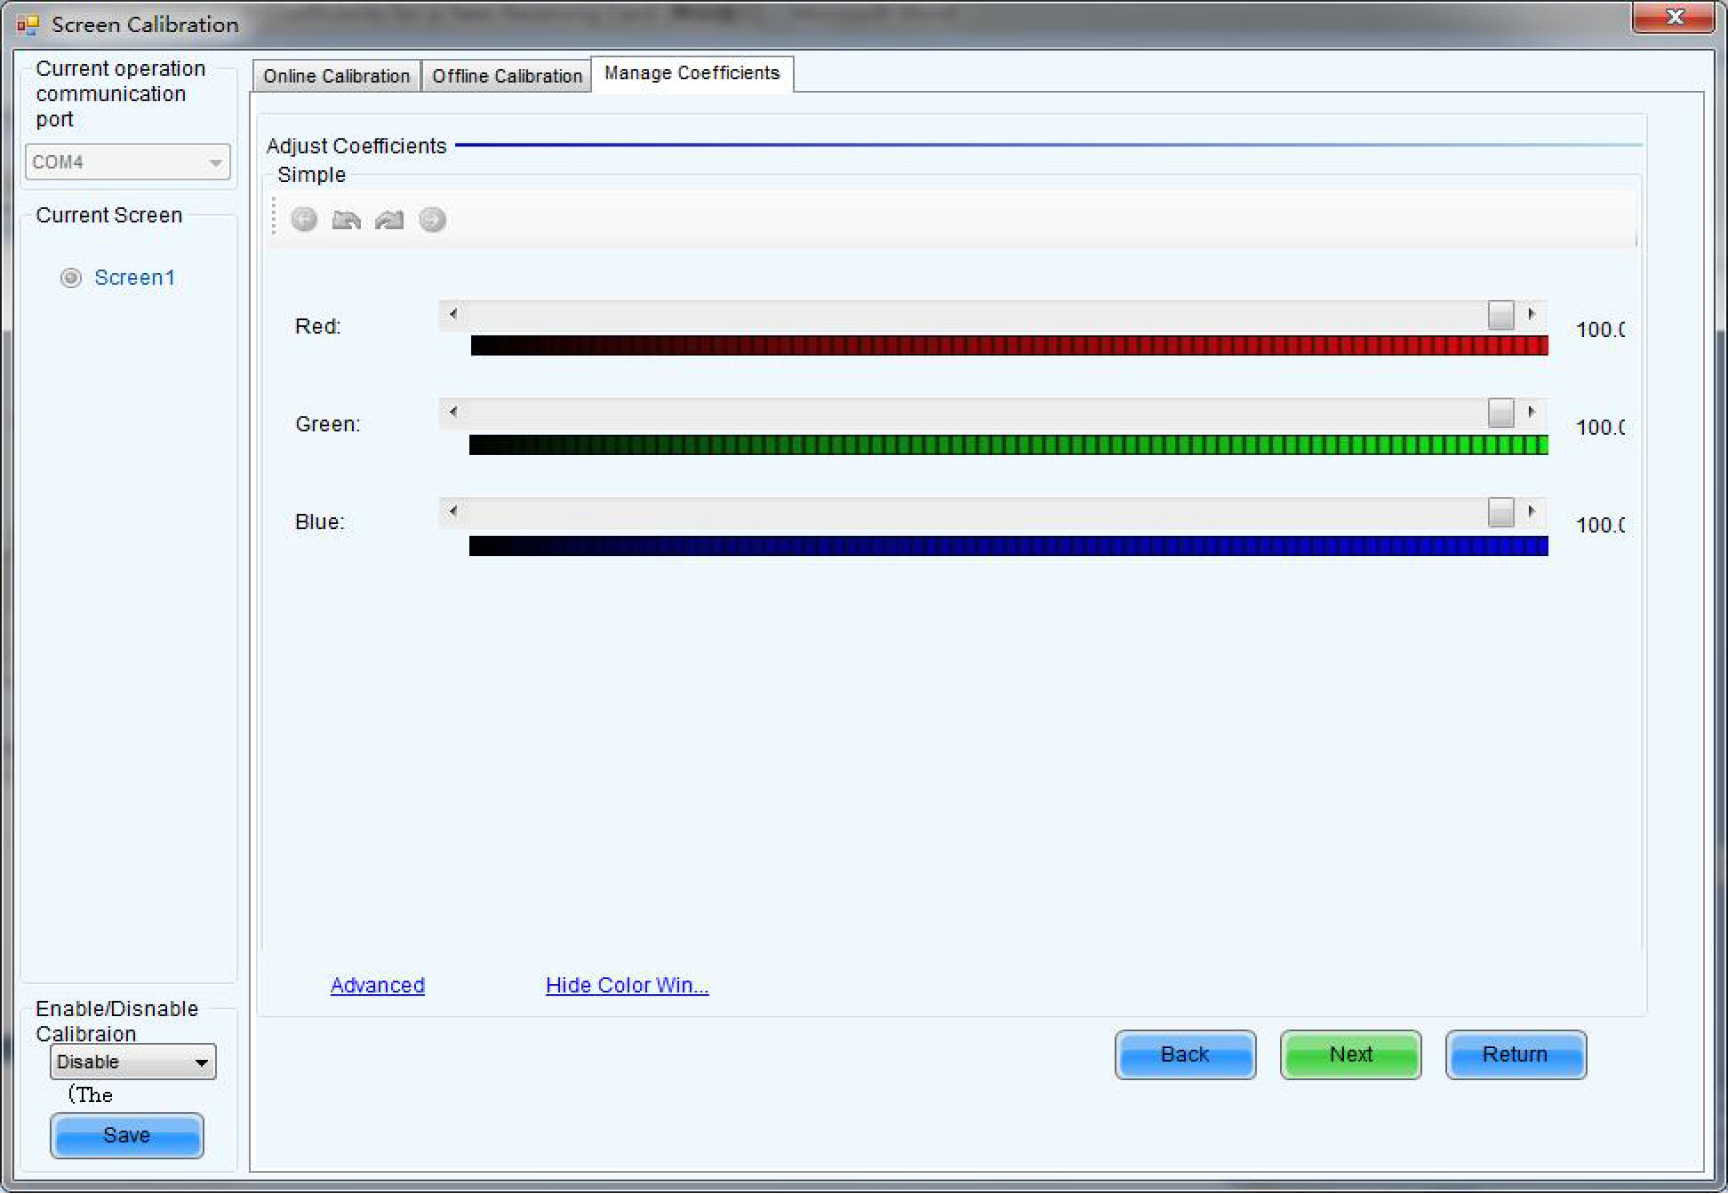
11. After the simple adjustment is completed, click “Next” and “Save “.
12. Select “Advanced” for advanced Adjustment.

13. Adjust the values of each color manually.
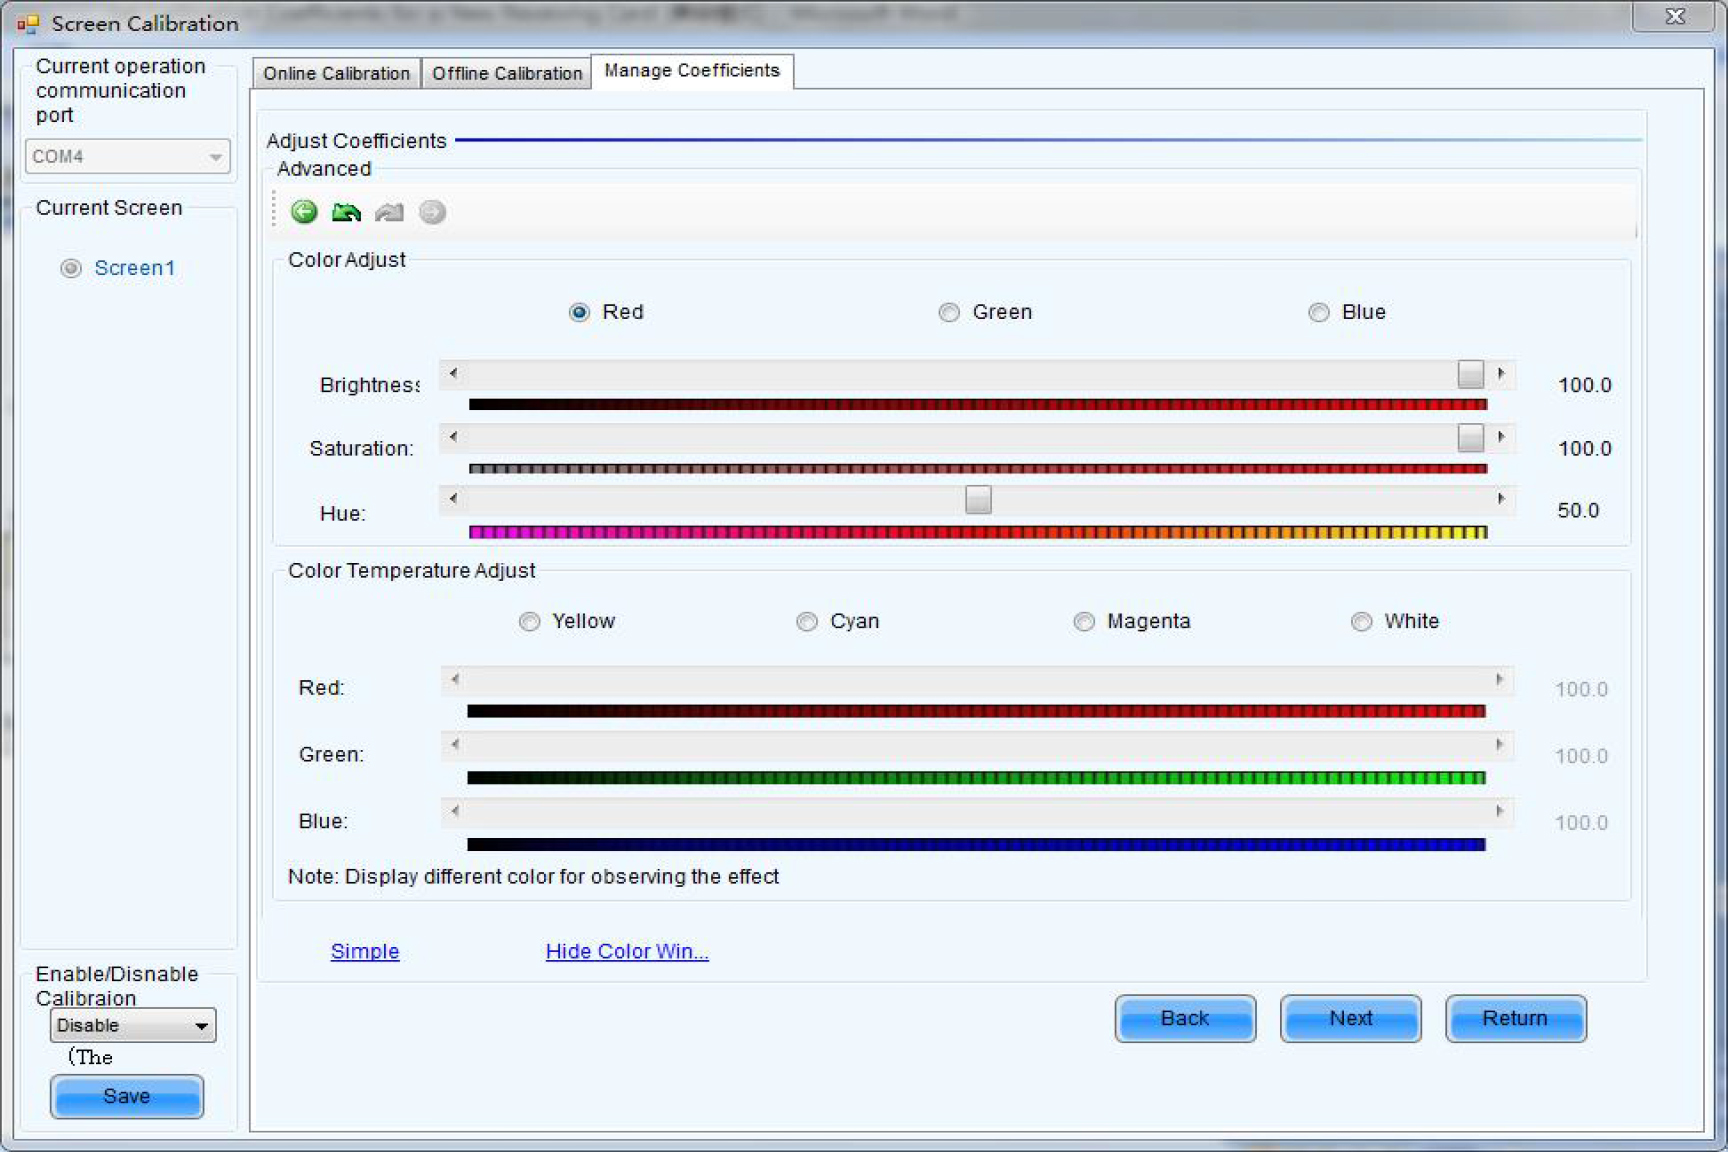
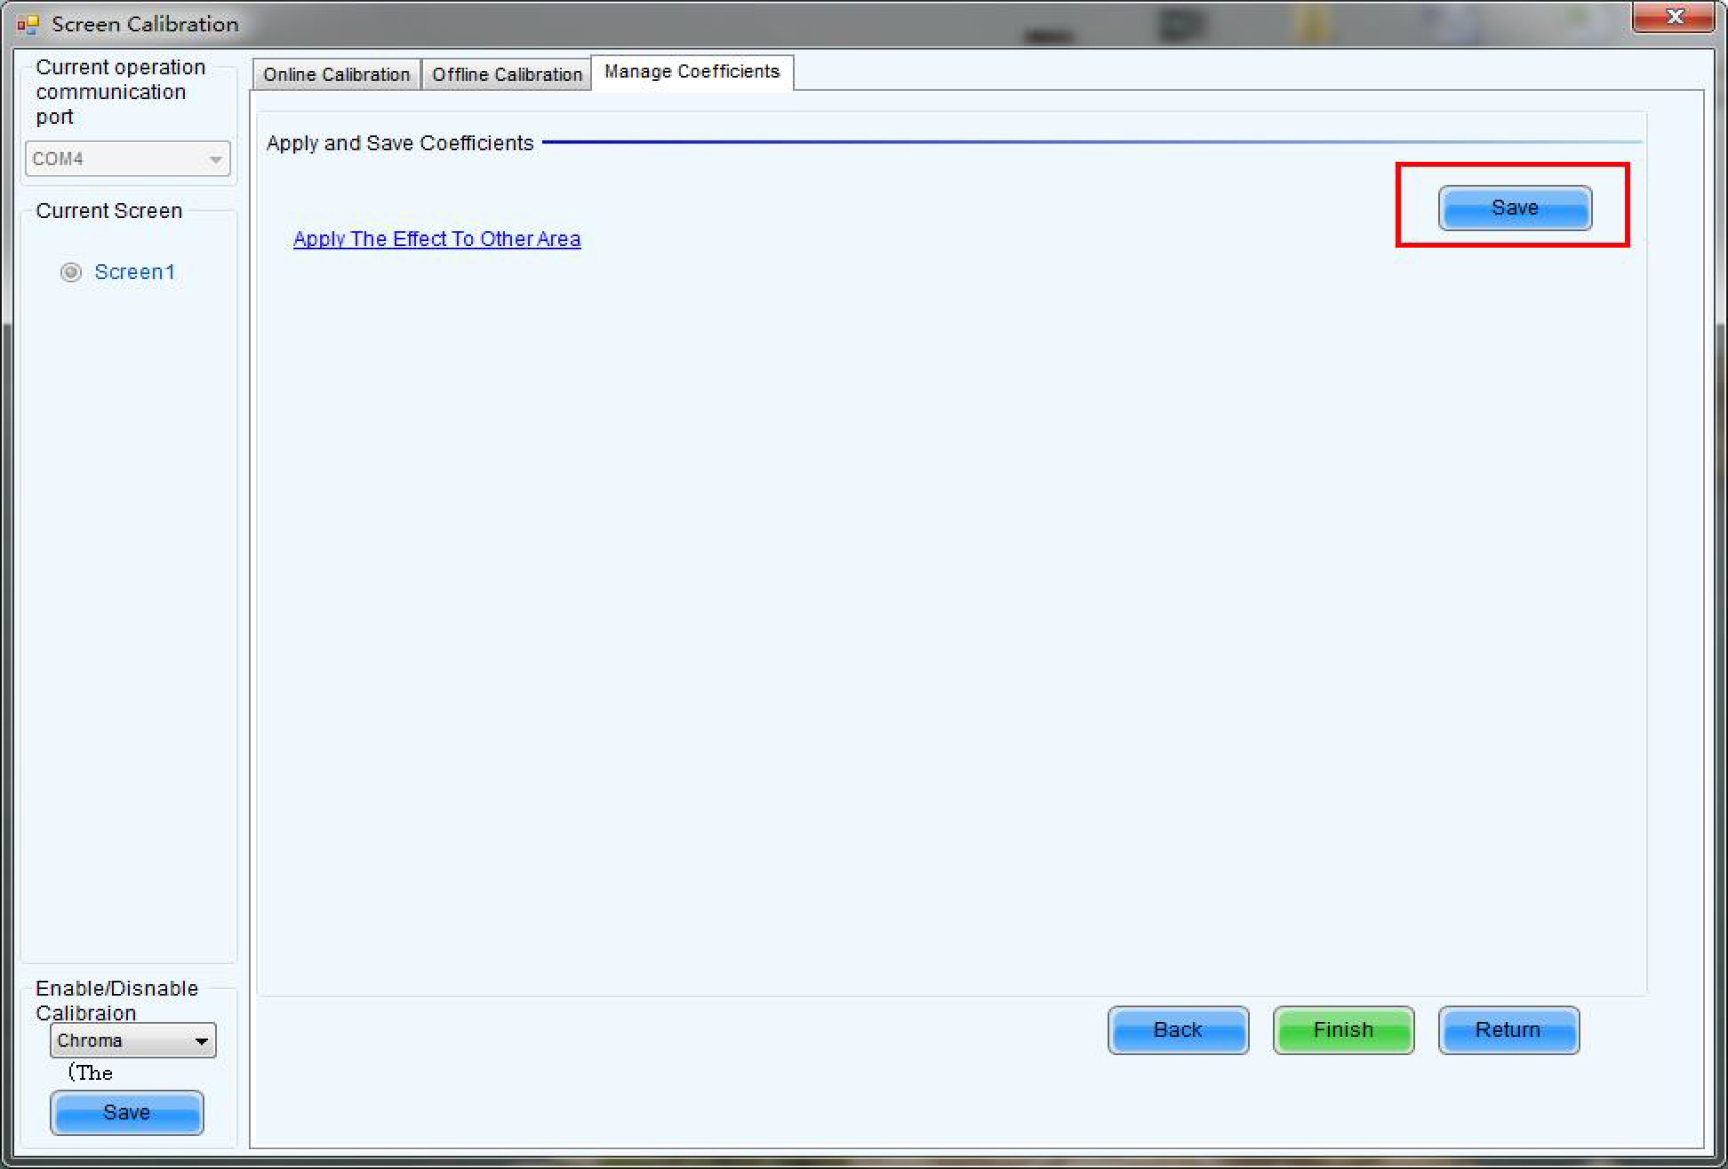
14. Click “Save” for saving to hardware after adjustment is finished.

Note: In case power-off happened, if miss save option step, adjustment data will lose. After completion of simple adjustment
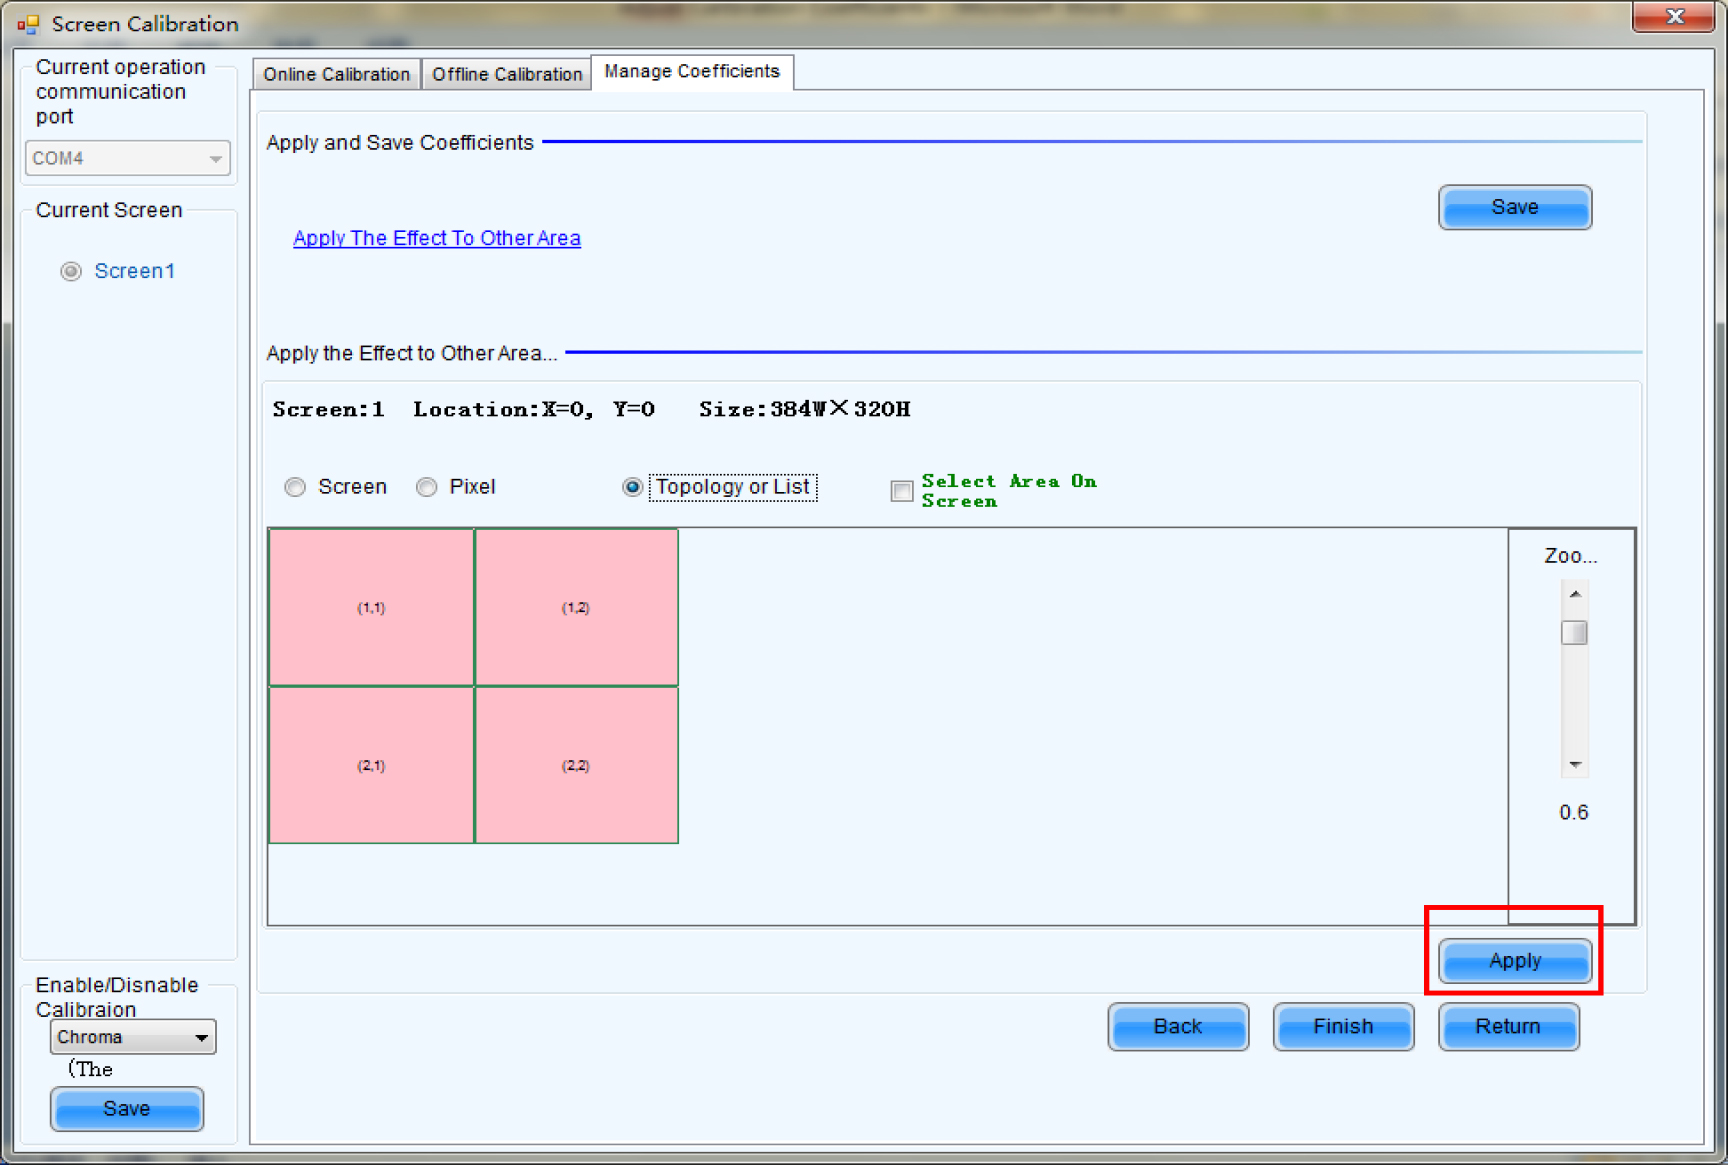
or advanced adjustment, click Apply effect to other Area. If the user wants to apply the data to the other areas, needs to
choose the area which needs to be adjusted.
15. Click Apply, “click” Save, and save the correction coefficient data to hardware.
16. Click “Ok” to apply to other areas.
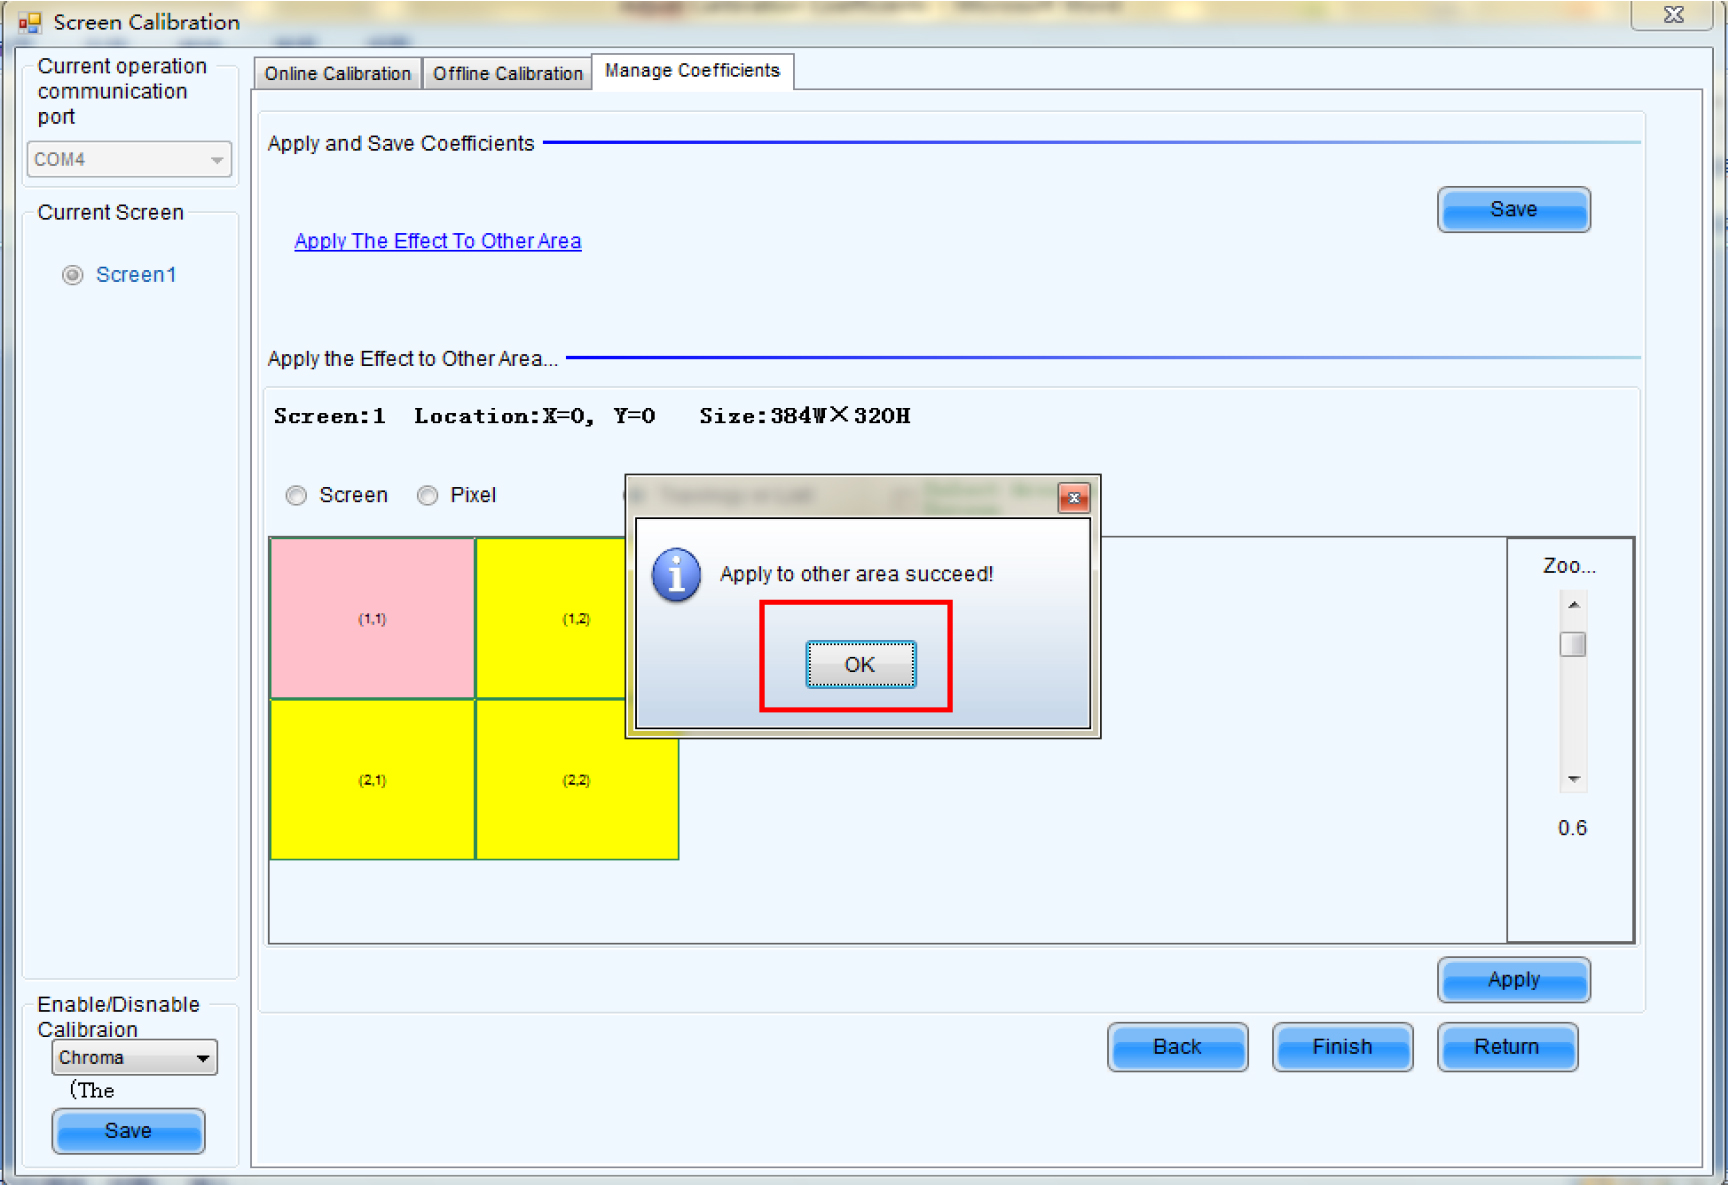
17. After the whole process is finished, please click “Save”.