Installation of small spacing LED display screen and wiring diagram of LED display screen control card
For customers with certain knowledge, it must be a very happy thing if they can assemble an LED display by themselves. Now let’s talk about the installation method of small spacing LED display and LED display control cards.
For the installation of small spacing LED display screen, first, select the materials for assembly. Generally used materials mainly include: frame, unit board, cable, power supply, control card, processor, control computer, etc
After these materials are prepared, how to assemble the modules into a large LED display screen and use it normally? Next, the senior technical maintenance engineer of buyledcard will take you through the installation steps in detail.
1. Make the main frame and frame, select the steel structure material (40 * 40 * 1.5mm square tube) according to the CAD drawing of the LED display size of the set size, and then cut the material to the corresponding size and weld it into a field shape. The error shall not be greater than 1mm. If it is greater than 1mm, there may be a large gap in the spliced LED display screen. Therefore, special attention shall be paid to referring to the CAD drawing requirements given; Through CAD structural design drawing and main frame welding, the welded frame is fixed on the wall.

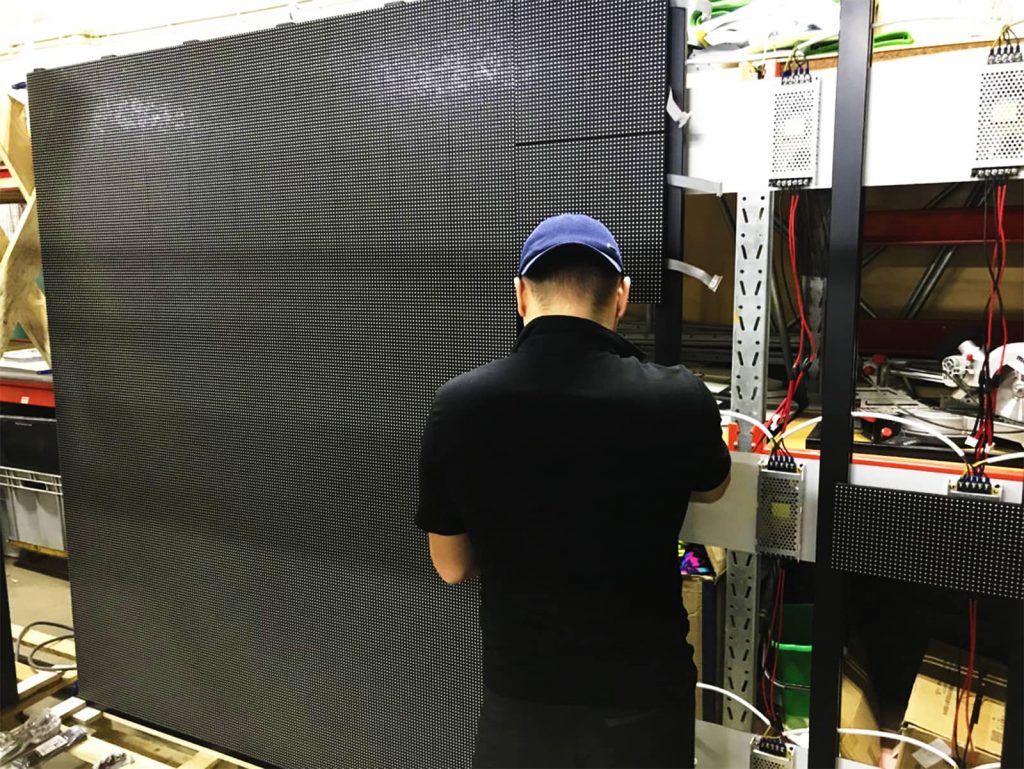
2. Installation of control system: main cable and main network cable wiring; Install power supply and control card; Control card wiring and power wiring are fixed; When connecting the wire between the power supply and the power supply, pay attention to the sequence of live wire L, zero wire n and ground wire, as well as the corresponding interfaces of unit board power wire, red wire + 5 and black wire – 5; If this piece is connected incorrectly, it is easy to cause the LED display screen to fail to display normally or display abnormally, which needs special attention. The installation is shown in the figure below

Wiring, Installing power supply, control card and wire connection
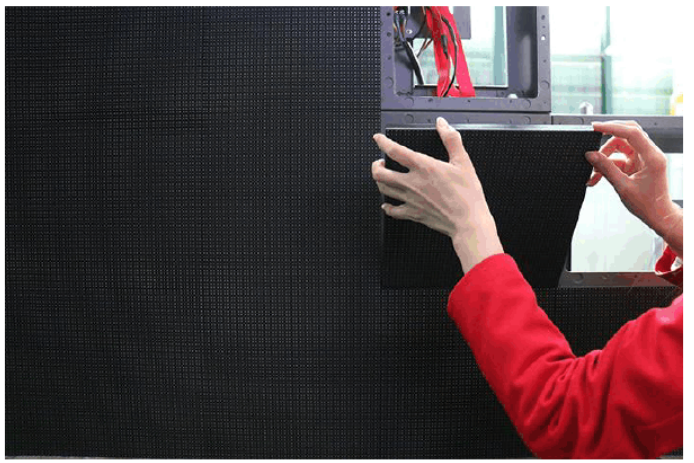
3. Unit board installation: install the LED unit board and connect the cable; The unit board is generally installed from bottom to top and from the middle to both sides. The reason is that the installation from the bottom is mainly to make the horizontal and vertical within the normal control range and avoid rework caused by too large errors. It is installed from the middle to both sides, mainly to make the frequency consistent and coordinated during test scanning, and reduce the use of power supply.

4. Commissioning: according to the signal diagram, connect the wiring sequence accordingly; During the installation process, power on and test the communication number when installing 5 rows of unit boards, and solve the problems in time; Because when the screen is large, the unit plate needs to be removed after all installation, and the work quantity is large; There will be a button on each control card, which can play red, green, blue and slash to determine whether there is a bad unit board; If the display is normal, the next group can be installed until the installation is completed.
After debugging, remember to save the debugged RCG file. In this case, in case of any subsequent problems, just open this file and reload the information.
